Follow Us on Social Media
Devmont Digital Insights

To new businesses, give you the expertise, approaches, and techniques you should know to be a super hero.
BLOG - BLOG - BLOG - BLOG - BLOG - BLOG - BLOG - BLOG - BLOG

White-Label WordPress Login Pages: A No-Code Setup Guide

Nov 3, 2026
White-Label WordPress Login Pages: A No-Code Setup Guide

You hand a client a finished website. The design is theirs, the copy is theirs, and then they open wp-login.php for the first time and see the WordPress logo. Click it and it opens wordpress.org. To a client who just paid for a custom brand, that looks like unfinished work, and it is the page their whole team sees every day.

This guide shows how to replace that screen with your client’s own logo, colors, and background, without writing code if you prefer not to. It compares the three realistic ways to do it, walks through setup with our free login plugin, and covers what a branded login page does not do, so you can set accurate expectations with the client.

What the default login page tells your client

Out of the box, the WordPress login screen shows the WordPress logo, and that logo links to wordpress.org. The link text reads “Powered by WordPress.” None of that is wrong, but it tells every editor, shop manager, and contractor that the site is a stock install. For an agency, it also means your client’s staff have no visual cue they are in the right place, which is what generates “is this the real login?” emails.

A branded login page fixes the first impression, and it is a small, visible detail that agency partners can offer as part of a white-label handover.

Three ways to white-label the WordPress login page

Approach Skill needed Design control Survives a theme change Best for
Code snippet in a plugin or functions.php PHP and CSS As much as you code Only if it is in a plugin One site with simple needs: logo and link
Login Builder plugin None Full screen: logo, background, form card, fields, button Yes, it works independently of your theme Agencies branding many client sites
Custom-built login experience Developer time Anything, including extra fields and redirects by role Yes Membership sites and custom workflows

For a logo swap and a new link, a snippet is enough. For a full branded screen across many client sites, a plugin saves time. For role-based redirects or custom fields, you need custom development.

Option 1: the snippet route

WordPress gives you two filters for the logo link and the logo text, and an action for adding CSS to the login page:

add_filter( 'login_headerurl', function () {
    return home_url( '/' );
} );

add_filter( 'login_headertext', function () {
    return get_bloginfo( 'name' );
} );

add_action( 'login_enqueue_scripts', function () { ?>
    <style>
        body.login { background: #f4f6f8; }
        #login h1 a {
            background-image: url( <?php echo esc_url( get_stylesheet_directory_uri() . '/images/login-logo.png' ); ?> );
            background-size: contain;
            width: 240px;
            height: 80px;
        }
    </style>
<?php } );

This sends the logo link to the site’s own homepage, sets the link text to the site name, and swaps the logo and background color. Put it in a small plugin rather than your theme’s functions.php, or the branding disappears the next time someone changes the theme. This is also the kind of thing that gets lost at handover, so write down where it lives.

Option 2: set it up with Devmont Login Builder

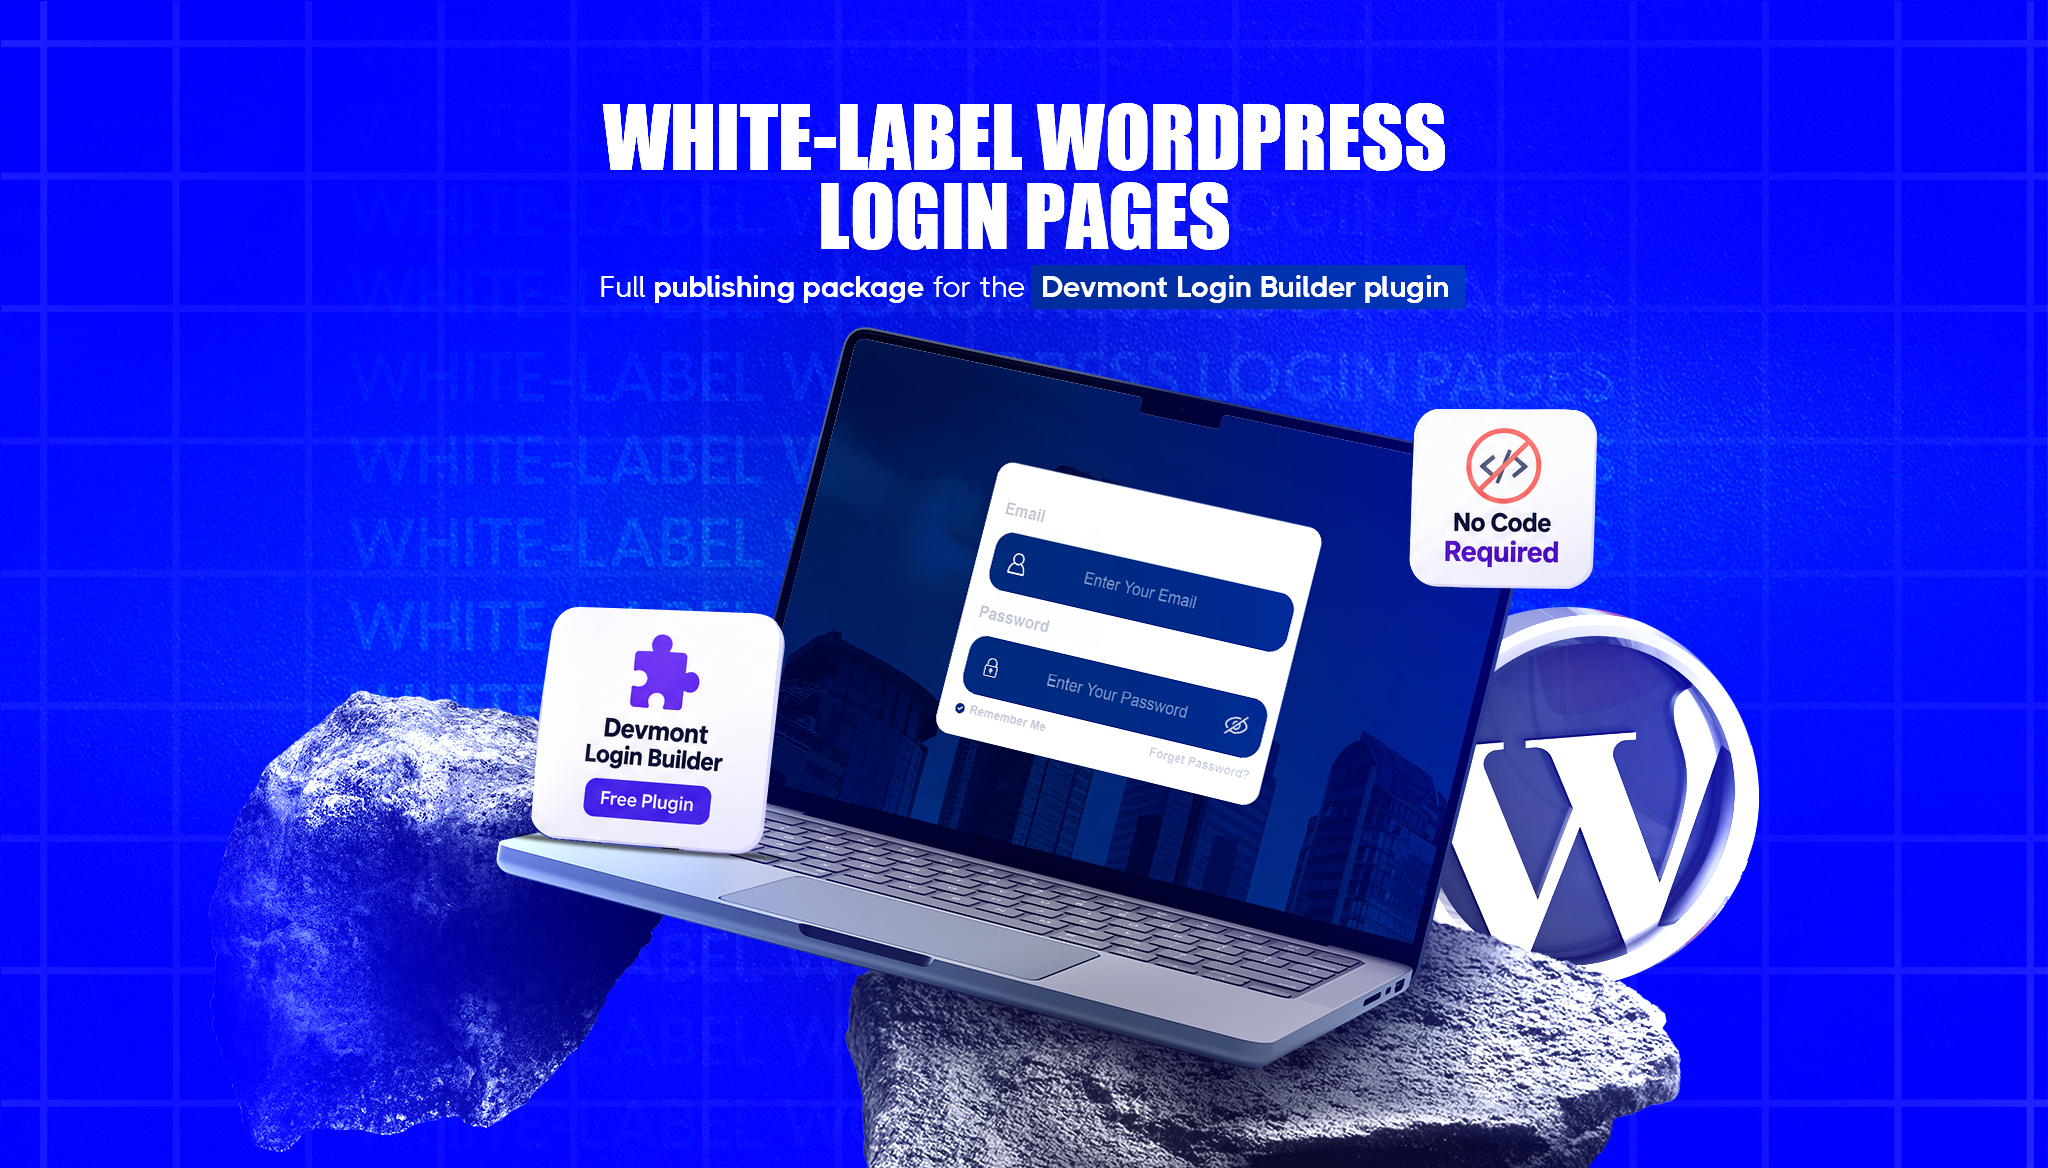
Devmont Login Builder is a free plugin that replaces the default login layout with a centered form card on a background you control. It requires WordPress 6.0 or higher and PHP 8.0 or higher.
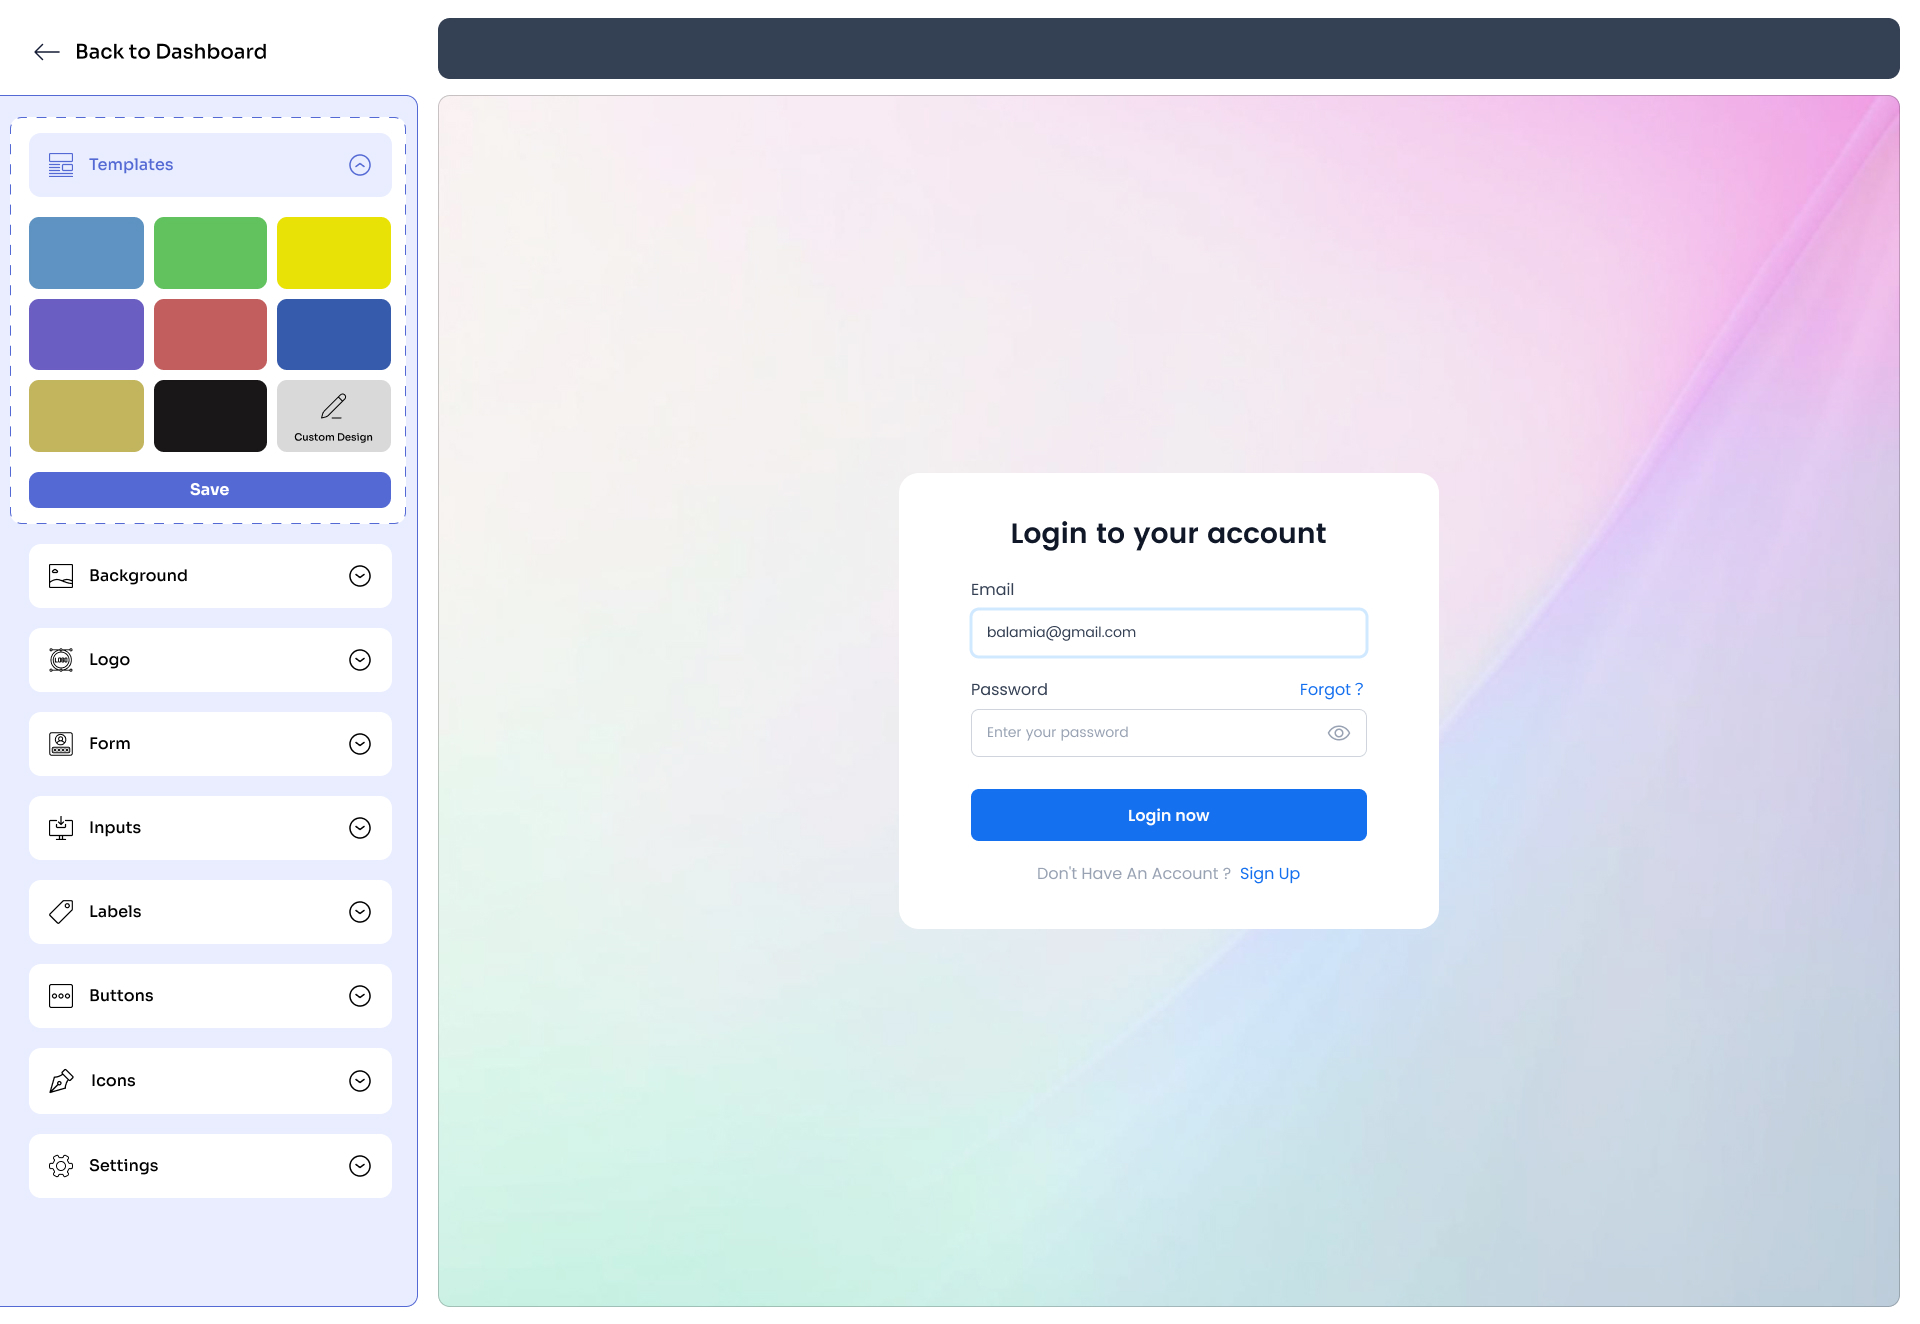
  1. Install and activate it. Go to Plugins, then Add New, search for Devmont Login Builder, then click Install and Activate.
  2. Open its settings. A Devmont Login Builder menu appears in the admin dashboard. The settings page shows a live preview, so you can see changes before saving.
  3. Add the client’s logo. Upload it, then set its width and height, the space above and below it, and its alignment. Upload a logo before you go live. If you skip this step, the plugin shows a bundled default image, not the client’s brand.
  4. Set the background. Use a solid color or an image. For an image, you can set its size, position, repeat behavior, and opacity.
  5. Style the form card. Set the card color or make it transparent, add a background image if you like, and adjust its width, height, padding, and opacity.
  6. Style the fields and button. Set field colors, font size, padding, and borders, then the button’s colors, size, and corner radius. Label and “Forgot?” link colors are set separately.
  7. Save and test in a private window. Log out, then open the login page in a private browser window so you see what a client’s staff will see.

login developer

What it does and does not change

Set these expectations with the client before handover:

  • It replaces the login screen with its own layout. That is why the design control is wide, and also why you should test anything else that touches the login page.
  • It covers login, lost password, and reset password. The registration screen keeps its default look.
  • It changes how the screen looks, not who can get in. It does not hide or move the login URL and it adds no protection against attackers. For real hardening, start with our WordPress security guide. XML-RPC, for example, is a separate login path that a pretty login screen does not close, and we covered it in which WordPress features to disable.
  • After a successful login, users land on the dashboard. If you need role-based redirects, that is custom work.
  • Test it with your login-related plugins. Because the plugin draws its own form, plugins that add fields to the login form, such as two-factor codes or CAPTCHA, may not show those fields. Test on a staging site before you rely on it with either.

Design rules that keep it usable

A branded login screen should be easier to use than the default, not just prettier.

  • Check contrast. Body text and button labels should reach a 4.5:1 contrast ratio against their background, the WCAG AA guideline for normal text. Pale brand colors on a white card often fail.
  • Keep the logo small. A tall logo pushes the form below the fold on a phone.
  • Keep the form readable on a phone. Staff log in from phones more than most agencies expect. Our mobile interface design guide covers tap targets and form friction.
  • Do not hide the “Forgot?” link. Low-contrast reset links generate support requests.

Handover checklist

Branding that only one person understands becomes a support problem later. Record this for every client site:

  • The logo file name and where the original lives
  • The brand colors as hex codes, including card, button, and link colors
  • The brand colors as hex codes, including card, button, and link colors
  • The result of your test with the client’s security and login plugins
  • Who to contact if the login page breaks after an update

If you would rather have us set up and maintain branded logins across your client sites, that sits inside our WordPress development and maintenance work.

Frequently Asked Questions

Use a login customization plugin such as Devmont Login Builder and upload your logo in its settings. You can also add a short code snippet that replaces the logo with CSS and changes where it links, using the login_headerurl filter. The snippet works, but it needs to live in a plugin to survive theme changes.

Yes. A login customizer plugin gives you settings for the logo, background, form card, fields, and button, and many show a live preview. Devmont Login Builder is free and works independently of your theme. Test it with any security plugin that adds fields to the login form before you go live.

No. Branding changes how the page looks, not who can sign in. It does not hide your login URL or block password guessing. For security, use strong passwords, keep plugins and themes updated, limit user roles, and add protections such as two-factor authentication through a dedicated security plugin.
Maria
About the Author

Maria

Content Manager at Devmont Digital

Maria is Content Manager at Devmont Digital, writing practical guides on WordPress, Shopify and Laravel for founders and marketing teams. The Devmont Digital team builds websites, stores, and web apps for clients across the US, UK, and Europe. Specialising in WordPress, Shopify, Laravel, and MERN, the team publishes plugins on WordPress.org and apps on the Shopify App Store, and has been recognised by Clutch as a top developer.


Recent Article

Nov 10, 2026

A reader opens your 2,000-word guide looking for one answer. They scroll, lose their place, scroll back up, and leave. Long posts only work when readers can jump to the part they came for, and WordPress does not ship a table of contents that does that. This guide shows three ways to add a sticky […]

Read more
Oct 27, 2026

You publish on Medium, but your own website shows none of it. A visitor who lands on your homepage has no idea you write at all, and the stories you spent hours on sit on someone else’s domain. Linking to them by hand works for a week. Then you publish again and the page is out of date.

Read more
Oct 5, 2026

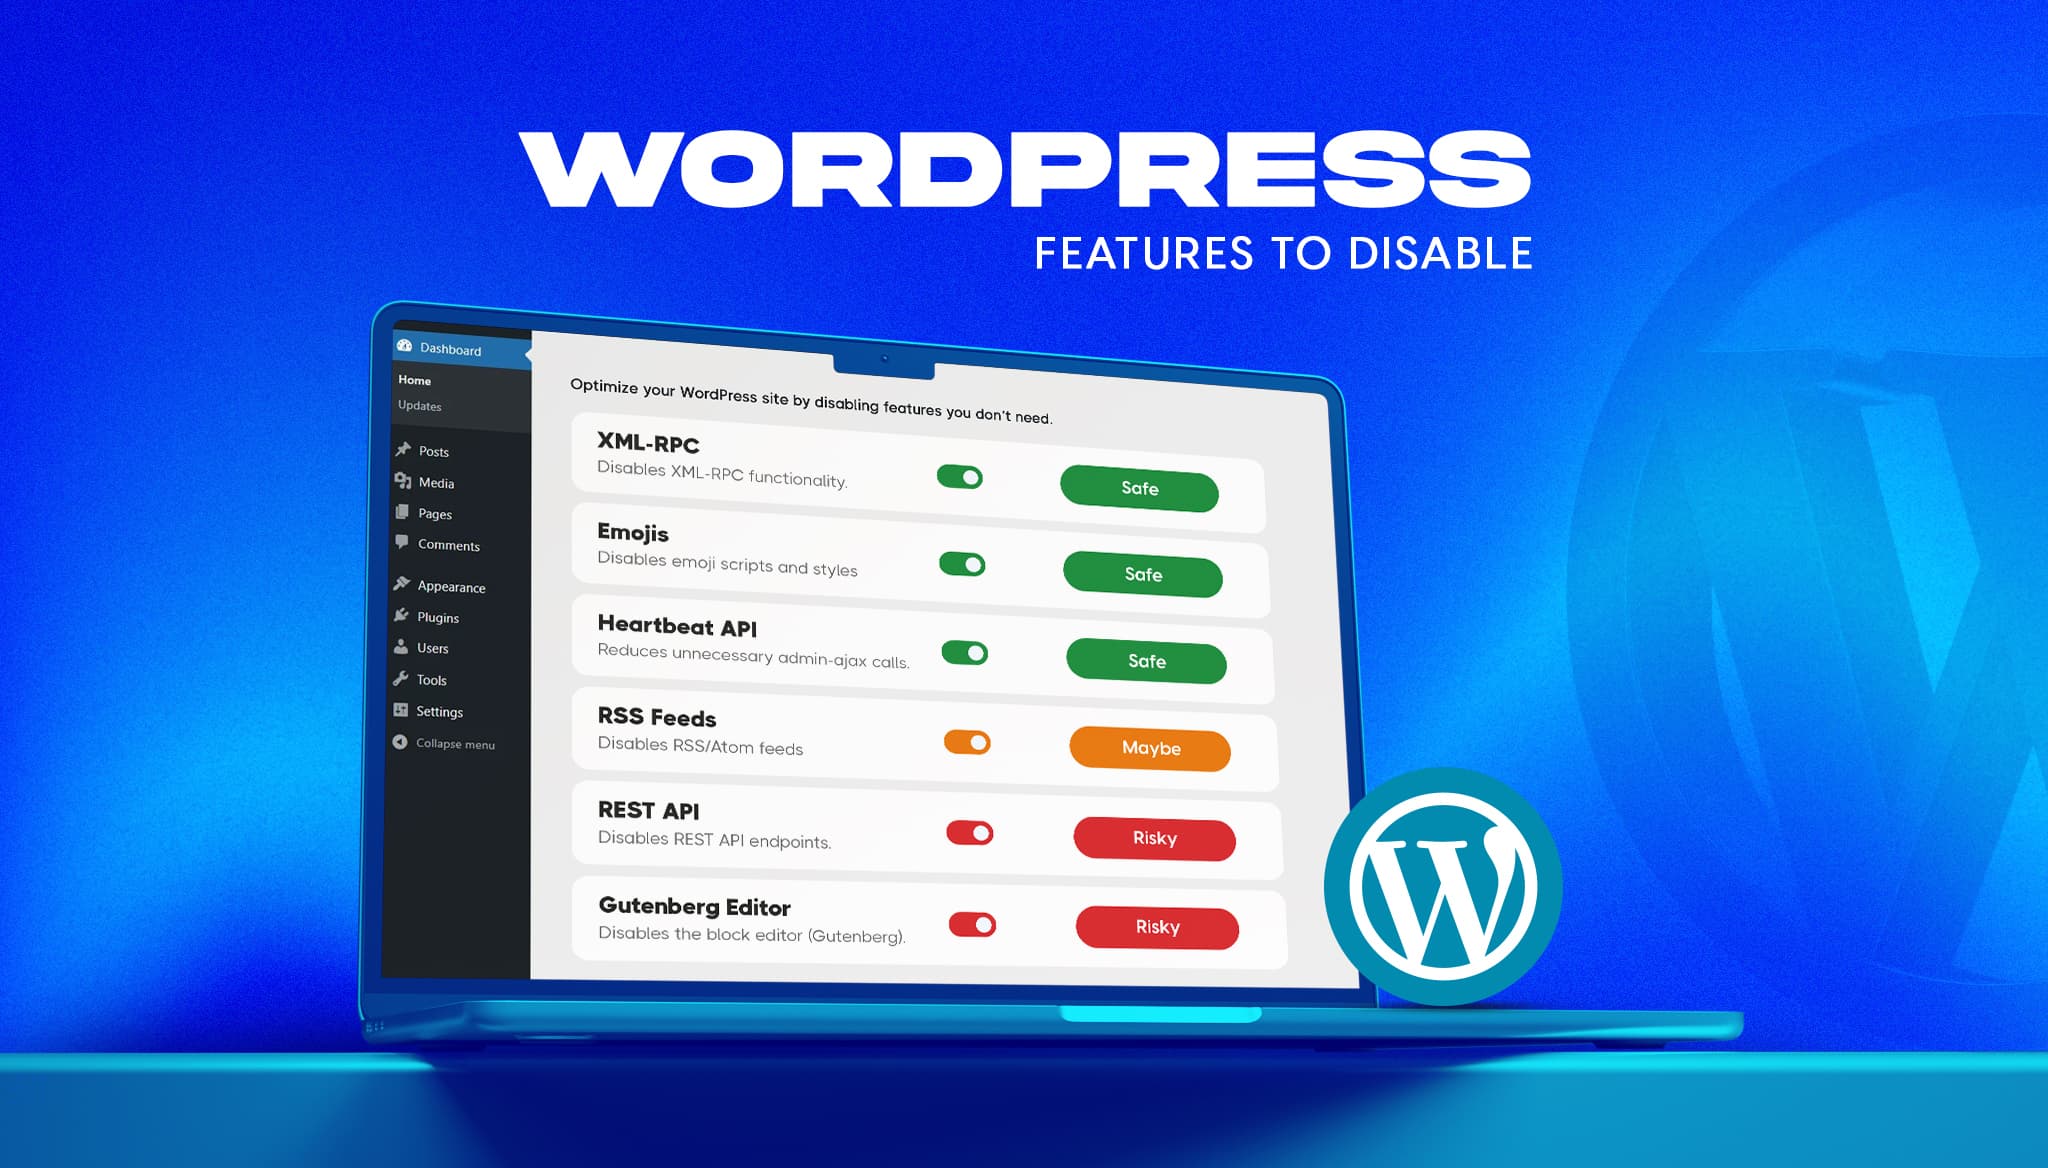
A fresh WordPress install ships with features most business sites never use. Some add background requests, one opens a well-known login attack path, and a few load code on every page for a nice-to-have. The usual advice online is to switch them all off. That advice breaks sites. This guide gives a verdict on the […]

Read more