To new businesses, give you the expertise, approaches, and techniques you should know to be a super hero.
Animations can make banner ads stand out. They grab attention in a way that static images might not. When done right, a moving banner can guide someone’s eye and tell a story in just a few seconds. Whether you’re working for a brand or trying to advertise a product, adding motion opens the door to more creative ideas and better engagement.
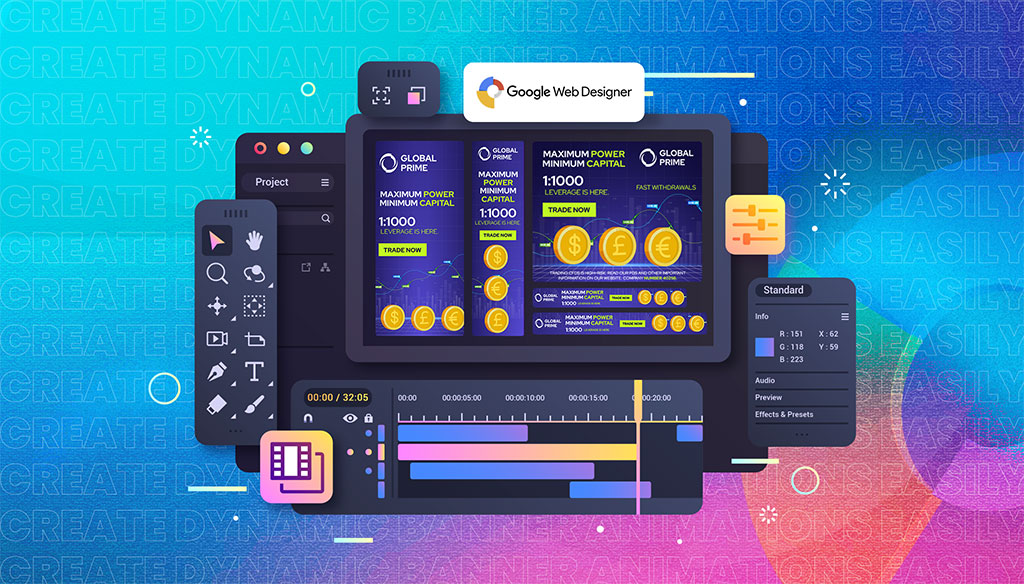
Google Web Designer is a free tool that helps you build HTML5-based designs and motion graphics. It’s often used to create banners that work well across desktops and mobile devices. Even if you’re new to design tools, this one’s user-friendly layout lets you start building animated banners quickly. If you’re hoping to create something more than just an image with text, learning your way around this tool is a smart first step.
Before jumping into design work, you’ll need to get the tool set up on your computer. Google Web Designer is available for both Mac and Windows, and there’s no cost to use it.
Here’s how to get started:
One of the best things about Google Web Designer is how visual it is. You don’t have to write code to bring elements to life. The design view lets you drag and drop items and arrange them as you want, while the code view is there if you do need more precise control later on.
Key features you’ll notice right away:
Even first-time users can feel comfortable experimenting here. Let’s say you want to build a simple rectangular ad with a headline, logo, and button. You can build that in just a few clicks using the tools on the left and adjusting sizes or alignment in the properties section.
The interface is meant to guide you through each step, which is a nice break from some more complex software out there. If you make a mistake, just press Undo and try again. There’s room to explore and get creative without the fear of breaking anything.
Once you’ve played around with the workspace and clicked through the panels and settings, you’re ready to start building a banner from scratch.
Now that everything’s installed, you’re ready to create a design. Starting a new project means deciding on the size of your banner and what you want it to look like. If you’re building a banner for a specific ad platform, they’ll usually have size requirements. Some common ones are:
After choosing a size, name your project and save it to a folder where you can easily find it. Then the real fun begins. Use the rectangle tool to block out background shapes, drop in your brand’s logo, and then add a call-to-action button. You’ll also want to enter any text you want to appear, like a message or headline.
When placing elements, make sure there’s good balance between the visuals and message. The banner space is small, so everything should be clear and easy to read. Try to leave enough space between elements so it doesn’t look cluttered.
Here are a few tips when building your layout:
Once your design feels complete and everything has a place, you’re ready to bring it to life with animations. Movement is what takes an average banner and nudges it closer to something people actually notice while scrolling. That’s where the next part comes in.
Now that your layout is locked in, it’s time to add those small movements that grab someone’s eye. Google Web Designer includes a timeline that functions almost like a simple video editor. It lets you control how objects move, when they appear or disappear, and the speed of those changes.
To get started, click the animation button near the top of the interface. You’ll see the timeline panel expand with layers for each element on your banner. At the very first frame, place your elements where you want them to start. Then move forward on the timeline, adjust their position, opacity, or size, and Google Web Designer automatically fills in the movement between those two points. That’s called a keyframe animation.
You’re able to do things like:
If you’re used to other animation or video tools, this approach might feel familiar. If not, it’s easy to learn through trial and error.
To keep animations smooth and natural, here are a few tips:
One example could be introducing a summer sale by fading in large colourful text, followed by a slight bounce on the call-to-action button, all timed within two seconds so it doesn’t feel drawn out. The animation shouldn’t steal the show. It should support the message you’re trying to get across.
You can keep tweaking things until it feels right. Once you’re happy with how it flows, you’re ready to wrap it up.
Before exporting anything, it’s smart to preview the banner one more time. Click the Preview button in the top corner and choose your browser. The banner opens in a new tab where you can check if everything’s running as expected.
If something looks off, like animations playing out of order or the text appearing too late, you can jump back in and fix it. Adjust the timeline or reposition elements without starting over. Once you’re satisfied, it’s time to export.
Here’s a quick export checklist:
Another thing to look out for is file size. While Google Web Designer tries to keep things lean, banners that are too heavy might load slowly on some devices. Limit large images, and make use of compression where possible. If your ad is going to run across different screen sizes, consider creating responsive layouts or alternate versions for desktop and mobile.
If the output looks just like your design and runs smoothly, you’re set to go. No coding needed unless you’re adding custom tags or tracking pixels, which can be placed in the code view before export.
Once you’ve done a few banners, you’ll start to pick up little tricks that make the process smoother. Maybe you find a colour combo that works really well or spot certain animation timings that feel more natural. Every project gives you something you can carry to the next.
Start saving animation presets or reusable templates, especially for common ad sizes. This way, you won’t have to rebuild from scratch every single time. You’ll get faster at creating great designs, and that keeps you ahead when campaign deadlines are tight.
Even if Google Web Designer does a lot for you, there’s still value in working with a design partner who can take your banners to that next level with original ideas, sharper layouts, and smarter interaction design. That’s where we come in. If you’re ready to build banners that don’t just move, but move people, our team is here to help.
Elevate your advertising strategy with engaging designs. Explore how you can craft eye-catching animations efficiently using google web designer banner ads. For personalised guidance and to see how Devmont Digital can transform your banners into compelling visuals, check out more details on our creative services.
Keeping an app fresh and running smoothly means updates are part of the regular routine.
Read moreDesigning for mobile isn’t just about shrinking everything down to fit a smaller screen. It’s about making sure users can move through an app or website with ease, no matter where they are or what device they’re using.
Read moreUpdating a WordPress theme sounds simple, but there’s always that worry it might break something on your site. Whether it's a misaligned button, a missing image, or a full layout shift, one small change can ripple into major issues. That’s why it’s so important to handle theme updates with care. Updates bring new features and repairs, but your site’s performance, design, and layout should stay just as your visitors expect or get even better.
Read more